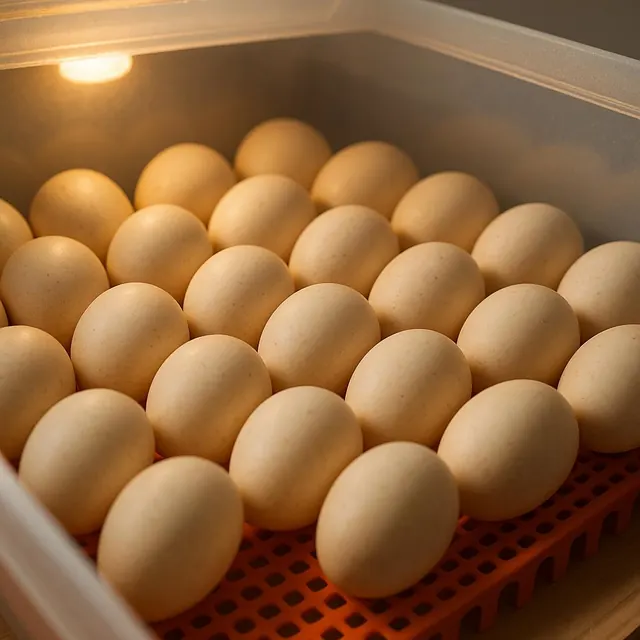
TroubleshootingEarly embryos often survive 12–18 hours of cooling. What to do the moment the power goes out, safe ways to keep eggs warm, backup power sizing, and a preparation checklist.
Published October 6, 2026 · 7 min read
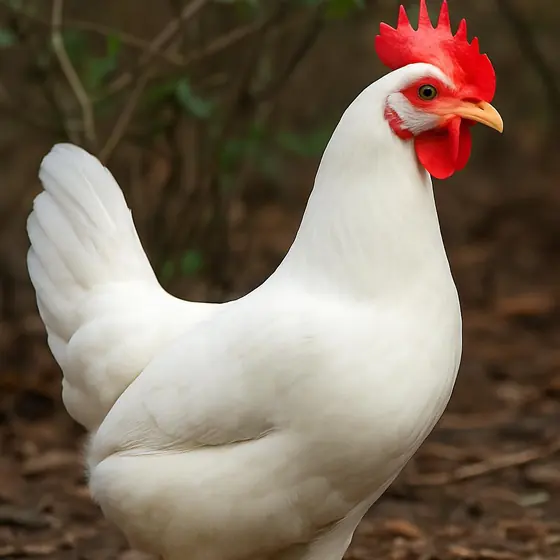
Hatching eggsWhy supermarket eggs almost never hatch, the rare exceptions (including grocery quail eggs), how to tell if an egg is fertile, and where to buy real hatching eggs.
Published October 6, 2026 · 5 min read
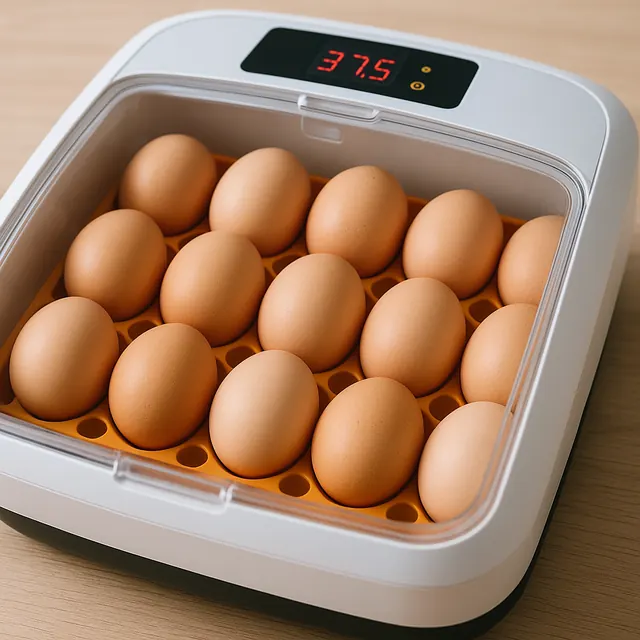
Incubation basicsChasing humidity, skipping the test run, trusting one thermometer, helping chicks too early, and seven more ways first hatches go wrong, each with a simple fix.
Updated October 6, 2026 · 6 min read
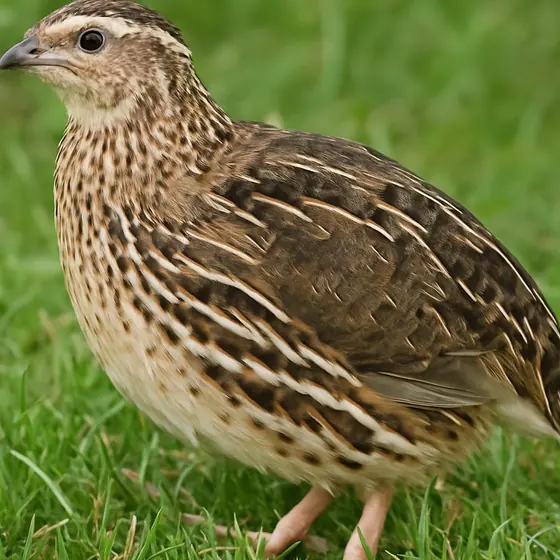
QuailWhere to put the incubator, what size you need, realistic notes on noise and odor, a tote brooder setup for quail chicks, and the local rules to check first.
Updated October 6, 2026 · 6 min read
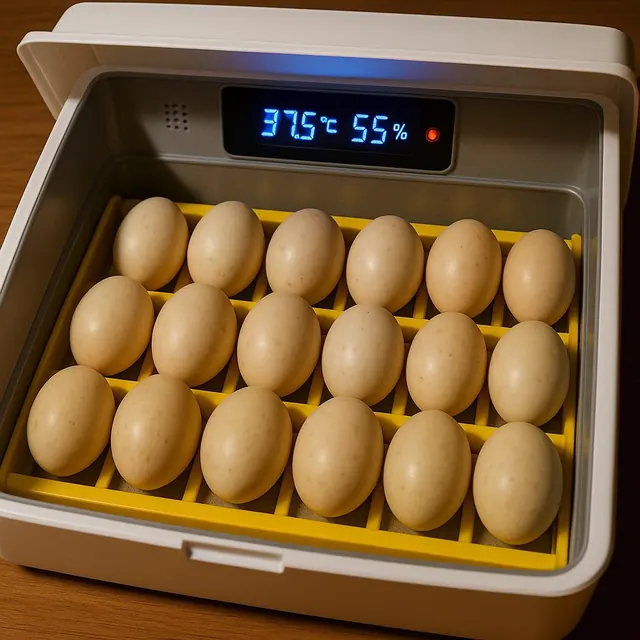
Gear talkA feature-by-feature look at what is essential, what is nice to have, and when a premium incubator earns its price.
Updated October 6, 2026 · 5 min read